
WHHHAAAAT’S UP GUYS??
Alright, so Drone photography has to be one of the coolest styles/types/genres. There are tons of “Drone Setup” tutorials out there, so I’m going to jump into the photography techniques I use here.
Also, if you feel like my blog has helped or entertained you in any way, please check out my store to purchase my digital prints to help support my efforts! Thank you!

1.) Timing
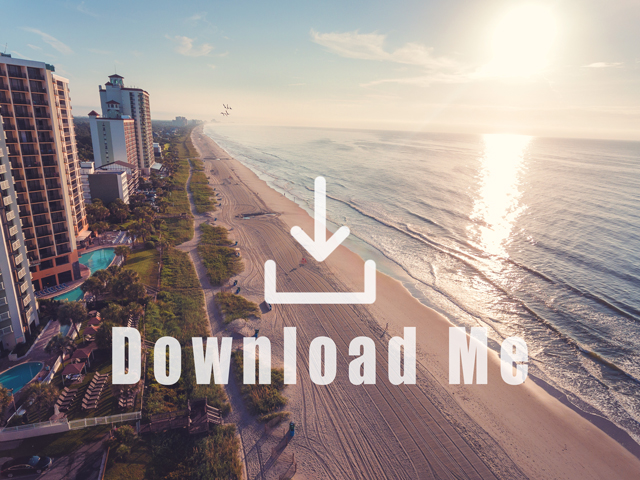
When you actually get your drone in the air is the most important ingredient here. Rainy days? Nope. Clear blue skies?? Meh, probably not. Early morning or late evenings with varied cloud-cover?? YES.
“…Wait for it.” The right time to take your perfect shots will come more often than you think if you plan ahead. Keep your drone as ‘flight ready’ as you can. Sunrise and sunset with a sky full of varied cloud-cover is a sweet spot!

2.) Composition
Many drones come with the ability to turn on ‘grids‘, which help you use your “rule of thirds“. I recommend going with what “feels”/looks right, but it’s nice to have the guides there to start. Most drones can’t “look up”, so you’ll want to steady your shot and then slowly tilt the camera downward. This will reveal slightly more ground than sky. For the more part, I also try to position the sun on the right side or left side of the shot.

3.) RAW/Shot Modes
Before you buy a drone, double check that it can shoot RAW. That way, you can edit all the image data in Lightroom later. If the drone came with auto-exposure bracketing, even better! I typically shoot three bracketed shots, and them combine them in Lightroom before I edit.
4.) Editing
RAW -> Lightroom.
You can do A LOT with Adobe Lightroom. Once you get your basic edits complete, export the processed image and then bring it into Photoshop. Use the Patch Tool to clean up any “distractions” with your photo. Apply your color balances and curve adjustment — whatever your style — and save it out. 🙂
Respectfully,
~Adam